With the implementation of CCSS, there is a shift toward applied math concepts and skills taught through the use of authentic, real-life problems rather than through a sequence of procedures. Students are expected to work cooperatively, think critically, and solve problems – all while understanding that there are many ways to solve the problem (with no one particular right way) and, sometimes, that there is more than one answer. Hence, this is the reason for the Standards of Mathematical Practice.
While to some degree, I have always been doing this in my classroom with other area and perimeter activities, I felt it meant that I needed some activities that were a bit more in depth – you know, the ones that require deeper thinking…and more time. I decided to really tackle this during my area and perimeter unit. We dug in deep using a real-life example.
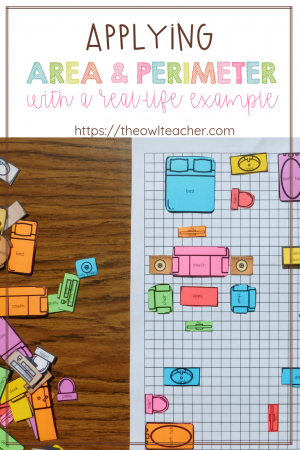
I secretly enjoy moving furniture around in my house (although now that I have children, it’s more work than it’s worth sometimes). I used to love just rearranging the furniture and seeing all the unique ways it made the room look after changing it around. So, that’s how I got the idea that I would create an activity such as this to have my students practice area and perimeter through applied math in context.
First, I modeled for students using a pre-designed house. I showed students how to find the area by counting squares and partial squares, estimating, and even using shortcut methods, such as arrays. I demonstrated breaking up rooms, finding their areas, and later adding them together to get a total area. I also demonstrated finding the area of furniture when you can’t actually see the grid lines. After modeling it, I then had students try to find the area of a room or two on the house blueprint plans on which I was modeling. (I strongly believe in the gradual release method. You can read about how I teach using the I Do, We Do, and You Do Method.) Finally, I provide students with their own house design on which to try finding the area. Of course, I differentiate it based on my students’ needs. Some students work with smaller rooms and furniture, while other students work with furniture that is angled and more advanced. They also answered questions related to their house.
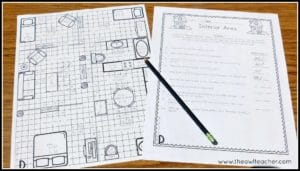
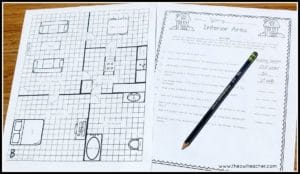
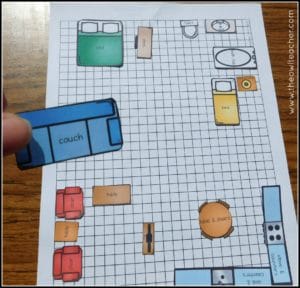
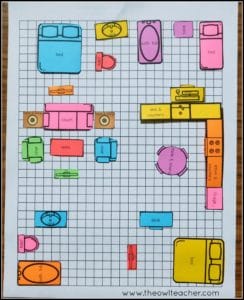
Once I felt students were ready to move on, I provided them with the materials to create their own house! They were given a blank grid graph and the furniture pieces. I gave them specific requirements, such as having at least one bedroom, one bathroom, a kitchen, and a living room. They also had to have a couch, a large bed, two tables (of any size), a chair, a desk, a table and chair set, bathroom furniture (toilet, sink, and tub), and kitchen furniture (sink, stove, fridge, and counters). We discussed thinking logically – for instance, you would never stack a TV on top of your bed to save room, nor would you block your bedroom door. We also talked about how we had to create walls and not put furniture through them.
The students had first arranged things where they thought they wanted it and then sketched their lines. They would glue their parts down and then find the area and perimeter of each room and piece of furniture.
We discussed how we could rearrange the furniture to create more area (and I challenged some students who finished early to try it!). Then, students answered questions related to their house design when they were done – basically using applied math!
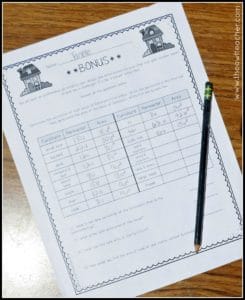
Of course, this activity could easily be done in any classroom. All you would need is graphing paper, and students could draw their own furniture with colored pencils on the paper, or you can provide students with construction paper to create them. However, if you are looking to save some time, you can read about and purchase my Estimating Area Applied Math Activity in Teachers Pay Teachers store.
What is really great about the product I created is that I provided two different direction sheets for teachers – one with requirements (as described above) and one that is more open-ended. I have also provided many opportunities for differentiation, including allowing for completing this activity as a whole group or small groups instead of individually. There is also an extra enrichment activity that allows for further critical thinking.
Related resources you may enjoy!
-
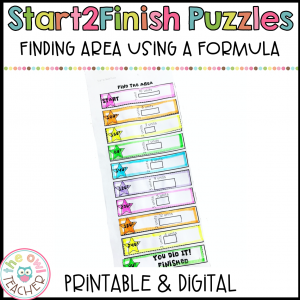
Find the Area Using a Formula Start2Finish Printable & Digital (Google) Puzzles$3.25
-
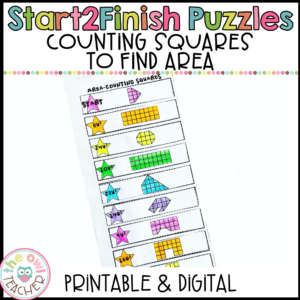
Counting Squares to find the Area Start2Finish Puzzles Printable & Digital$3.25
-
Ecosystem Project | Area & Perimeter Project | PBL Printable & Digital$7.50
-
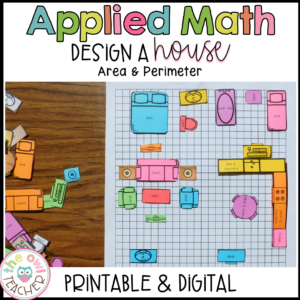
Design My House PBL Math | Area and Perimeter Activity Digital Included$5.25
Regardless of which route you choose to take, the benefits are tremendous! Students find the activity engaging, and it’s one of those applied math activities that really help you assess what your students understand about area and perimeter!













One Response
This is such an awesome and cute idea! My student will love this activity and better understand area when their done.