






If I’ve said it once, I’ve said it a million times: we are firmly planted in the Digital Era! Everywhere you look, there’s new technology sprouting up with the promise of making our lives easier and more streamlined.
However you feel about technology, it’s important to remember what makes these devices tick: simple machines! Simple machines are like the supporting actors of the modern world. While they don’t usually spend any time in the spotlight (when was the last time you were impressed by a pulley?), they’re nonetheless the backbone of all our fancy gadgets and systems!
In the simple machines Hall of Fame, there are six classic superstars: levers, wheels and axles, pulleys, inclined planes, wedges, and screws. If these simple machines are so important, though, then how can you make sure your students are building all the knowledge they need for a strong physical science foundation? There’s no simple machine for learning!
Or is there? Okay, no, there’s not, but the right tactics can do a ton of heavy lifting while saving you lots of effort… Just like a simple machine! With that in mind, let’s explore some simple machine activities for upper elementary students. They’re sure to take a load off your shoulders!
Defining Simple Machines
Before diving into these activities, however, take a moment with your students to go over the basics. Without understanding the definitions of each of the six simple machines, your kiddos won’t be able to tell a pulley from a pinwheel!
Keep in mind that a solid understanding of the real-life applications of simple machines helps students reach standards and excel in these activities. Not only that, but understanding these physical science concepts might just one day help out one of your students stuck in a pinch… Thanks to your efforts as an extraordinary educator, they’ll remember how to build a pulley system to lift their sofa up to their third floor apartment!
True story, by the way.
Regardless, let’s make sure that your students understand the basics of the six simple machines—it’s time to make like a wheel and roll into those definitions!
Levers
First up in our repertoire of simple machines is the lever. Some common examples of the lever are seesaws and crowbars! Ultimately, levers help lift heavy weights without breaking a sweat; it’s like having super strength!
So how do they work? Levers have a bar that pivots at a fixed point, called the “fulcrum.” The neat part is the versatility: the longer the distance from the fulcrum, the more weight the lever can lift.
Wheel and Axle
Up next on our agenda is everyone’s favorite dynamic duo: the wheel and axle! This team makes the world go round—literally! Our everyday commutes are made easier by bicycles and cars, which wouldn’t run very well without wheels and axles to turn them on.
Students should be able to identify the use of wheels and axles almost immediately: they help us move things more efficiently, from people to industrial tools. The wheel turns around the axle, and with just a push, off you go!
Pulleys
If you need a heavy object moved up somewhere high, pulleys are the way to go! Of all the simple machines, pulleys are like the cranes. With a wheel, a rope, and a little effort, you can lift those couches as high as you need!
Of course, pulleys don’t reduce the weight of an object; rather, they change the direction of the force, which makes lifting an object require much less force on our end. Handy! How did people ever lift sofas before the pulley was invented?
Inclined Planes
Inclined planes are not only helpful—they’re fun, too! When your students head out to recess, they’re likely going to take a ride on an inclined plane in the form of a slide. Hooray for physics!
On the helpful side, inclined planes allow us to move objects from one point to another on the Y axis safely and with less effort. It’s much easier to move heavy objects along a gentle incline rather than trying to carry a table up or down a set of steep stairs. That’s why moving trucks have ramps! It’s like taking the scenic route instead of climbing a rugged mountain. In addition, inclined planes work much better with wheels and axles than stairs do!
Wedges
When someone wedges themselves into your conversation, it splits your attention away from the pal you were originally talking to. In fact, it may even split up your conversation entirely—such is the nature of the wedge.
Wedges in the physical science domain aren’t so different. A wedge is two inclined planes back-to-back, and they’re all about cutting or splitting an object apart! From knives to axes, wedges make splitting a log or cutting your sandwich a breeze.
Screws
Last but not least in our simple machines collection is the screw. A screw is an inclined plane wrapped around a cylinder, which is a definition I truthfully only have memorized verbatim because of The Big Bang Theory… Whoops! (Note: that clip is definitely PG-13. ;-))
From holding things together to opening corked bottles, screws are the simple machines keeping the world intact. Thank a screw today for its hard work!
With all these simple machines, you could practically make a playground! In fact… I think you could! Draw a playground on the whiteboard (or have students create one on paper), and have your class work in groups to try to find examples of all the simple machines. You may need to take creative liberties with some, like using the merry-go-round as a wheel or pretending the swing set works as a pulley!

Now that we’ve covered basic definitions and the purpose behind these six simple machines, let’s check out some activities we can use to engage kiddos. With some of these activities, I like to demonstrate them first; however, these experiments often work best when students discover the findings on their own. Of course, this means sharing clear instructions and guidelines with the group!
Simple Machines and Activities to Engage
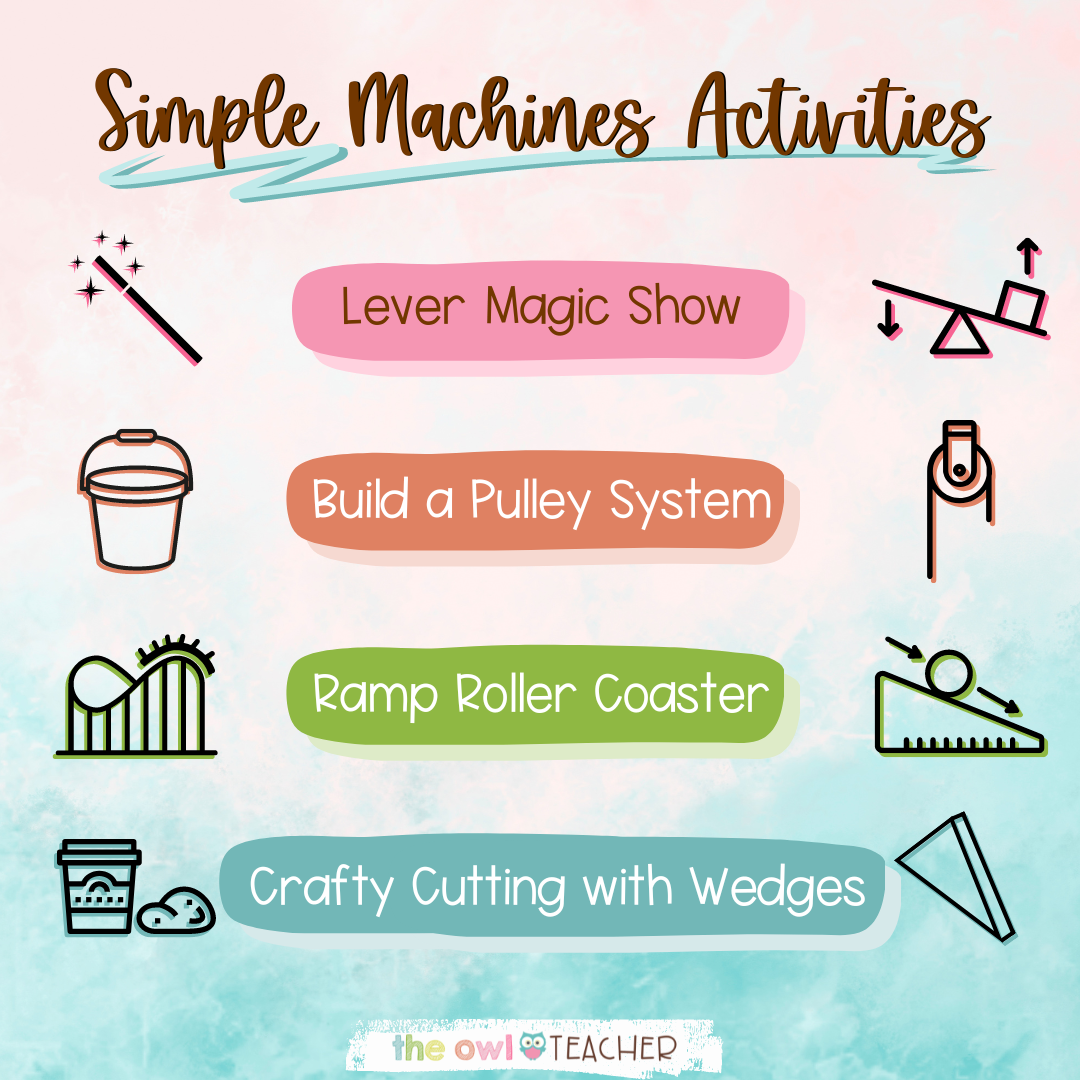
1. Lever Magic Show
Levers can be a bit tricky to understand from the definition alone. To help kiddos grasp this simple machine, try setting up a magic show in your classroom! This activity will help your students conceive how levers help lift up heavy objects.
To start, you’ll need a ruler, a pencil, a coin, and a small rock for each group of students. Then, balance the ruler on the pencil so that the pencil acts as a fulcrum. Next, place the coin on one end of the ruler and the small rock on the other. Now, for the experiment, have the groups roll the pencil from one side of the ruler to the other. Ask your class to discuss how moving the pencil affects the balance!
As an added bonus, you can have each group share out their findings, and even record a video with their group experimenting with the fulcrum on Flipgrid. That’s right: physical science and technology skills! That’s a win for you and the kids.
2. Build a Pulley System
Next up is my favorite activity with real-world applications: the pulley system! This simple machines activity demonstrates how pulleys make lifting objects exponentially easier.
Once again, split your students up into groups. This time, you’ll need a small bucket, string, a spool, and a stick, either for yourself to demonstrate for the entire class or for each group to set up separately. First, attach the string to the bucket and run it over the spool, which should be attached to the stick. Next, fill the bucket with small objects of various weights, like water bottles or pencils. Finally, pull the string to lift the bucket!
If you’re demonstrating for the class, I highly recommend letting each group take a turn pulling the string as well as lifting the bucket separately so that they can compare each method and determine which is easier. In the end, ask each group, “How does using a pulley compare to lifting the bucket directly?”
When sharing out, I like to mix it up! Instead of every group reading out their answer to the class, you can try alternate methods, such as a Google Jamboard! As I’m sure you can tell, I love finding ways to incorporate technology into lessons. In today’s world, you gotta build those digital skills to pay the bills!
3. Ramp Roller Coaster
Now that we’ve covered levers and pulleys, let’s check out another simple machines activity for inclined planes: the ramp roller coaster!
The ramp roller coaster demonstrates how inclined planes make moving objects along the Y-axis easier. For this activity, you’ll need cardboard, books, and toy cars (or any ‘car’ object with wheels). First, create ramps using cardboard placed on top of stacked books—textbooks work great, and are easily accessible! Next, roll toy cars down the ramps. Have your students experiment with different inclines and surfaces.
After the activity, ask your students to explore how the steepness of the ramp affects the speed of the toy cars. Discuss this activity together, then for an added technology boost, you can even have your kiddos make infographics in Canva to show their understanding!
Before diving into simple machines, try this Hot Wheels force and motion experiment — it gives students a concrete experience with force before they explore mechanical advantage.
4. Crafty Cutting with Wedges
For our final exploratory simple machines activity, we’ll investigate how wedges can be used to cut and split objects. You’ll need Play-Doh (or clay), old credit cards/gift cards (or cardboard cut into triangles), paper, and scissors. Since this activity is more hands-on rather than a demonstration, I like to have every student individually experiment with this concept and then share their results in groups.
First, give each student a lump of Play-Doh. Next, use the cards as wedges to cut through their lumps! Then, compare the wedge-cutting with trying to cut the Play-Doh with just their hands. You should also allow students time to cut the paper with scissors and explain how the blades are wedges, too!
Finally, ask the question, “How does the shape of the wedge make cutting easier?” Use the think-pair-share strategy to have students share with a partner, then the whole group.
Ultimately, remember to keep sharing real-life examples of simple machines in order to bring these engaging activities to life! Afterward, if you’re looking for another activity to wrap up your simple machines unit and cover all the simple machines together, check out this Simple Machines Circle Book Craftivity. It’s printable and digital!
After these activities, invite your students to explore the two remaining simple machines—wheels and axles and screws—on their own and come up with their own investigative activities. What simple machines activities will you use in your classroom? Let me know in the comments below!