


COPYRIGHT © 2016-2026. The Owl Teacher | Privacy page | Disclosure Page | Shipping | Returns/Refunds
There’s a reason I mention hands-on activities in every single blog post: it’s the best way to learn! Whenever you’re in need of ways to make science hands-on and engaging, you can rest easy knowing that you’re doing right by your kiddos by choosing hands-on projects.
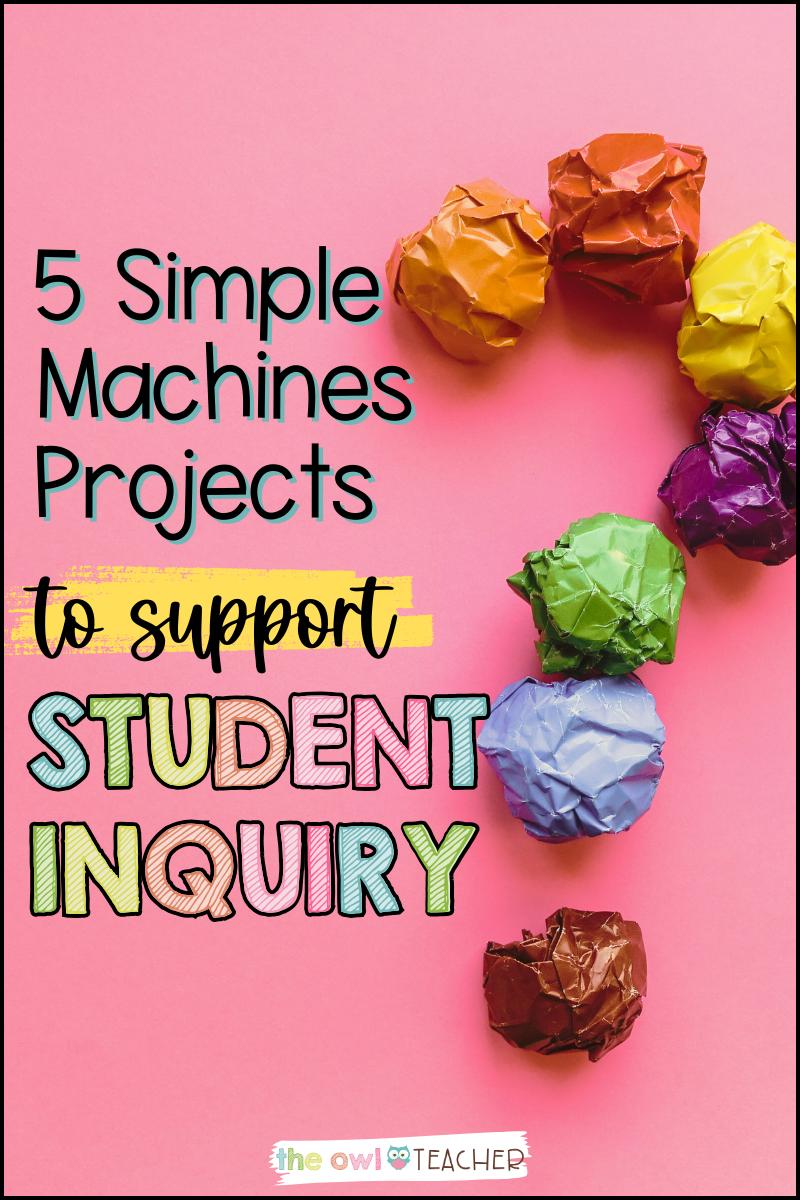
One of the best hands-on science units are simple machines. Simple machines provide an excellent opportunity for students to dive into experiential learning, offering a concrete basis for abstract concepts such as “mechanical advantage” and “force.” We already know that science drawings are a great tool, but to really bring those abstract concepts down to something more tangible for kiddos to fully grasp.
Like I mentioned in my post on correctly implementing project-based learning, supporting student inquiry is one of the best things you can do in your classroom. Luckily, simple machines make for a perfect medium! In that vein, I’ve compiled five different simple machines projects to support student inquiry with your upper elementary students; first, though, let’s take a look at why it’s crucial that your students develop a strong understanding of simple machines.
Why Simple Machines are a Big Deal
There are a lot of dry, boring units in science, but thankfully, simple machines are not one of them! Simple machines make our daily lives easier and provide students with the chance to connect science to real life through hands-on learning. In addition, the nature of simple machines lends to ample opportunity for student inquiry.
Ultimately, simple machines are fundamental to various aspects of our daily lives, often serving as building blocks in larger, more complex systems. Let’s take a look at several real-life applications of the six simple machines:
- Levers are used in scissors, nail clippers, and seesaws on playgrounds.
- Pulleys are used with elevators, weight machines, and water wells.
- Wheels and axles are used in vehicles such as cars, buses, and bicycles, and are also found in door knobs and steering wheels.
- Inclined planes can be found in ramps, escalators, staircases, and driveways.
- Wedges are found in doorstops, knives, axes, and chisels.
- Screws are used in carpentry and construction, of course, but jar lids and plastic soda bottle caps also work on the same principle.
Beyond these six simple machines, there are a plethora of compound machines that are more complex. As the name implies, these are combinations of simple machines that work together to perform tasks! Cars, bikes, and the famed Rube Goldberg machines all use compound machines. To get your students thinking about compound machines, work together as a class to list as many as you can think of!
How can you incorporate inquiry-based learning into simple machine projects?
It can be easy to throw a lot of information at your students with simple machines, but it’s important to remember to leave room for inquiry. Student inquiry is all about teaching students to ask the questions, form hypotheses, and test their theories themselves. When students are given a simple machine project, they start with questions; for instance, “How can I lift this weight using the least amount of force?” Through experimentation, students will come to understand the mechanical advantage offered by simple machines.
To support inquiry-based learning, I’ve compiled five different simple machines projects. In these projects, you will start with an initial question. Next, have students form their hypotheses. The hypotheses outlined below are the ones your students should eventually arrive at, but they may have other ideas at first—that’s okay!
Once students form their hypotheses, they conduct the experiment. Finally, have your kiddos reflect on what they learn. This is the process of inquiry-based learning. Students are given the tools to find their answers and are encouraged to explore in their own unique ways rather than simply being given an answer and needing to accept it as fact.
Each of the projects outlined below focuses on one of the simple machines, while the final project emphasizes the ability to combine multiple simple machines to create compound machines, specifically as a Rube Goldberg machine. While the projects may be about simple machines, I guarantee they’re still engaging and exciting!
Lever Project: Balancing Act
To begin exploring levers with this project, begin by posing the following questions: “Can I balance two different weights at two different distances on a lever?” and “What is the relationship between weight and distance?” By asking these questions, you provide students with the end goal. You show them point A (the tools) and point B (the questions), and it’s up to them to forge their own path to get from one to the other. That’s what student-led inquiry is all about!
Next, your students will form a hypothesis. For example, they may hypothesize that the product of weight and distance on one side will be equal to the product on the other side in order to achieve balance. In the experiment itself, students should use a variety of weights and distances to test their hypotheses, making sure to record their observations so they may properly share their findings with others.
In the end, students analyze their findings and discuss the concept of “mechanical advantage” and “leverage” in a lever simple machine. Whether their initial hypotheses were correct or not, there’s no doubt that they still learned from the experiment. That’s what matters in the long run!

Pulley System: Efficient Lifting
Now that we’ve covered levers, let’s slide over to pulley systems! For this simple machines experiment, you’ll start your classroom off with two questions: “How many pulleys are needed to lift a weight effortlessly? How does the number of pulleys affect the force required?” To answer these questions, students may hypothesize that adding more pulleys will reduce the effort needed to lift the weight. A simple solution for a simple machine!
For the experiment, students will set up pulley systems with varying numbers of pulleys, using the same tactics I talked about in this blog post to create their pulleys. Then, they will measure the force required to lift a constant weight for the experiment. Once students have been given enough time to thoroughly explore their hypotheses, the class comes together to compare their results and discuss the trade-off between complexity (the amount of pulleys) and effort.
Is that a metaphor for real life, too? Maybe, but life is no simple machine, so we’re not interested! Let’s check out the next simple machines experiment.
Wheel and Axle: Speed and Torque
Wheels and axles may seem pretty straightforward, but that doesn’t mean your classroom should roll right by them! For this simple machines experiment, your initial questions should be “How does the size of the wheel affect the speed of the vehicle? How does it affect the effort required to push it?” Hopefully, your students will hypothesize that a larger wheel will move faster but require more force to initiate movement. Pesky inertia!
In the experiment, students will use toy carts or cars with different sized wheels. Students can race them on a track and measure the force required to make the vehicles start moving. In their reflections, students should reference their recorded data and attempt to identify relationships between wheel size, speed, and force.
And, hey, while you already have the tracks ready, we can use them for inclined planes, too!
Inclined Plane: The Easier Way Up
To get started with inclined planes, ask your kiddos, “What is the best angle for an inclined plane that requires the least amount of force to move an object upward?” After this question, students may hypothesize that a more gradual incline will require less force but take a greater amount of time to move a certain distance than a steeper ramp would.
No matter the hypothesis they start out with, students can test their theories by adjusting the angle of an inclined plane and measuring the force needed to move a weight up along the incline. Finally, students should be encouraged to discuss their results and, further, explore how they relate to real-world applications such as ramps and hills.
Rube Goldberg Machine: Cause and Effect and Compound Machines
Now that we’ve taken a look at our simple machines experiments, let’s see how we can bring them together to form a compound machine! The Rube Goldberg machine is so much fun and is one of my all-time favorite classroom activities. Here, students will combine simple machines to make a compound machine perform a task.
One of my favorite examples of the Rube Goldberg machine comes from the music video to OK Go’s “This Too Shall Pass.” How many simple machines can you spot in the video? Take a look!
This video is also an excellent resource to show your kiddos an example of the Rube Goldberg machine and get their minds thinking about ways to set up their own. Of course, if you choose to show it in your classroom, be careful of the fourth line of the song. A well-timed “mute” should do the trick! 😉
Once you get your students started, you’ll pose one question: “How can I use different simple machines to accomplish a specific task, such as popping a balloon (or another task of your choice)?” In response, students should hypothesize a variety of sequences of simple machines that can work together to accomplish the chosen task.
Finally, students will have the opportunity to build their Rube Goldberg machine and iteratively test and modify it to accomplish their goal. Your kiddos should also be given the time to reflect on what worked well, what didn’t, and why in order to gain deeper insights into the functions of each simple machine involved.
Despite their name, simple machines are not merely cogs and sprockets; they’re catalysts for inquiry-based learning! Whether it’s through understanding the mechanical advantage of a pulley or by delving into the problem-solving intricacies of a Rube Goldberg machine, these open-ended projects empower students to ask questions and seek answers.
Once you’ve covered each of the simple machines and you’re ready for a lesson review round-up, check out my Simple Machines Circle Book for a hands-on activity. Students can demonstrate what they’ve learned and recap their knowledge with a cute display!
Just like we teach place value as the cornerstone for more complex mathematics, introducing and exploring simple machines lays the groundwork for higher-level scientific understanding. With that in mind, it’s time to bring the wonders of levers, pulleys, and Rube Goldberg machines into your classroom and watch your young minds soar with the aid of simple machines!
If you haven’t already introduced force and motion basics, start with these 3 easy physical science experiments — including a Hot Wheels ramp investigation your students will love.
