


COPYRIGHT © 2016-2026. The Owl Teacher | Privacy page | Disclosure Page | Shipping | Returns/Refunds
We all know the staples when it comes to the visuals in the classroom: anchor charts and graphic organizers. They’re great, but what if I told you there’s a whole world of visuals that could take your teaching up a notch? The best thing is they’re game-changers for your inclusive students—and they’ll benefit every student in your classroom.
For your students who process information differently (think: ELLs, students with dyslexia, ADHD, or autism), visuals can be the lifeline they need to stay engaged and understand complex ideas. But even your “on-level” kids benefit, too. Visuals make abstract concepts more concrete, help ideas stick, and are more engaging. Visuals are also part of planning. They fit right into Universal Design for Learning (UDL).

Every teacher uses visuals in the classroom. This is not the point of the post. It’s going beyond the traditional staples of visuals and implementing other forms more often to benefit all students.
Beyond the Basics: Visuals That Wow
So, what visuals in the classroom can teachers use besides graphic organizers and anchor charts?
Build-A-Concept
Create a “build-a-concept” station with magnets or Velcro. Students can physically piece together a math equation, a timeline, or even a sentence. Bonus? They think it’s fun, but you know it’s meaningful learning.

Visual Storytelling
Comics aren’t just for Sunday mornings. Use comic strips to explain tough concepts in science or math. Students can follow step-by-step visuals to see how the water cycle works or how to divide decimals.
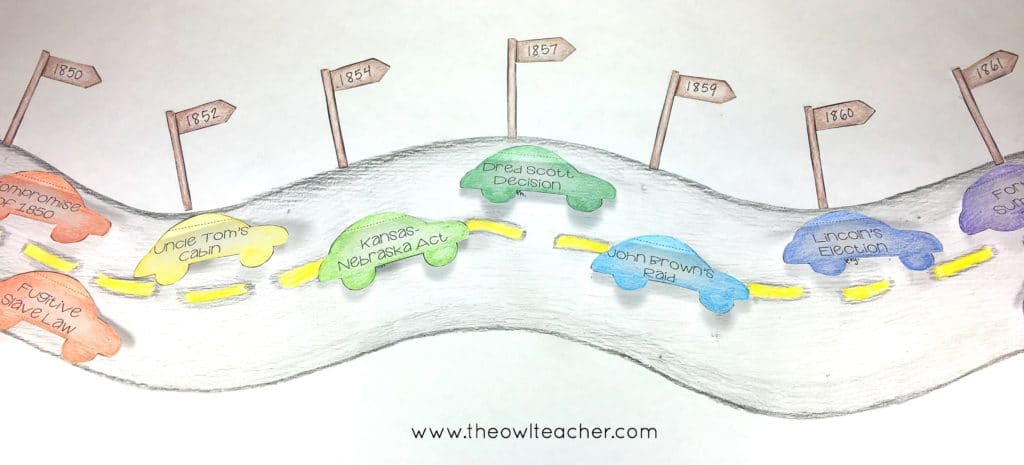
The Growing Board
Turn your bulletin board into a dynamic display that grows with your lessons. Start with a blank diagram or timeline and add pieces as students learn. It’s visual, collaborative, and a perfect reference tool to help you bring visuals in the classroom.
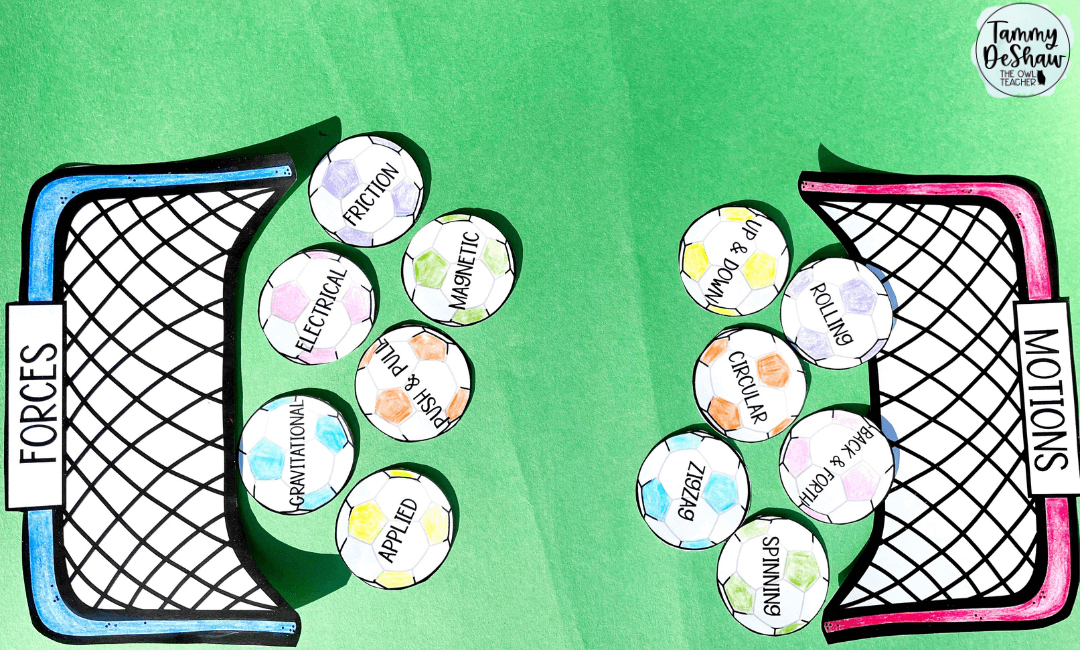
Games with Visuals
There are lots of ways to make visuals fun! Use sorting activities, matching activities, or puzzles that bring in a variety of colorful visuals to reinforce concepts. For example, sort fractions by size or classify living vs. nonliving things.
Tech-Savvy Visuals
If you have technology, then use it to bring some visuals in the classroom. Canva and Google Slides are fantastic websites for creating infographics, diagrams, and other important visuals in the classroom. Apps like Merge Cube or AR platforms can also bring augmented reality into your lessons. Imagine your students holding a 3D model of a plant while learning its parts.
Making Practice Visual (and Not Boring)
Let’s face it: practice can feel like a snooze-fest. But the use of visuals in the classroom, beyond graphic organizers and anchor charts, can change that.

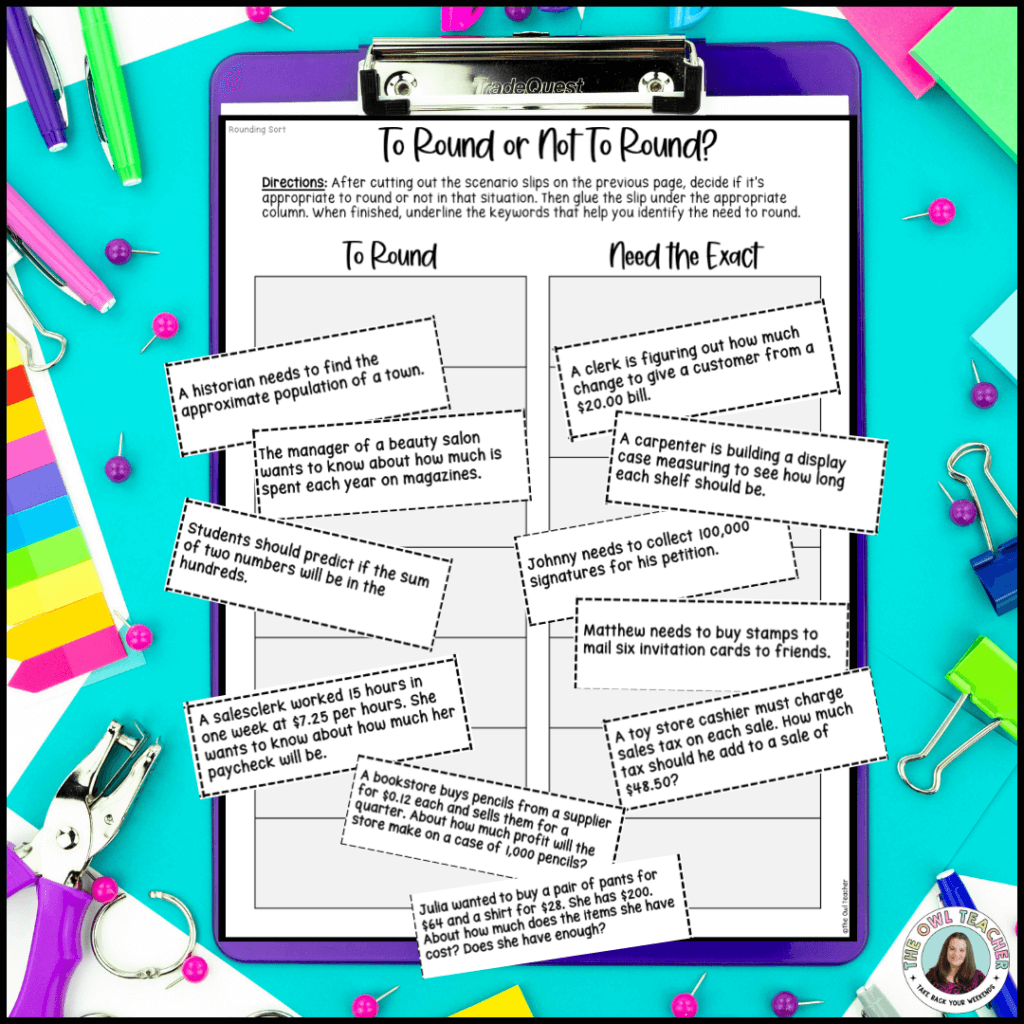
Math Practice:
Instead of throwing another worksheet at them, turn word problems into infographics or draw out scenes to match. Need to teach area and perimeter? Have students design and label floor plans for their dream bedrooms.
Science Practice:
Don’t just talk about the life cycle of a pumpkin—show it. Have students create their own diagrams or life cycle fans. Visuals stick better when children make them themselves.

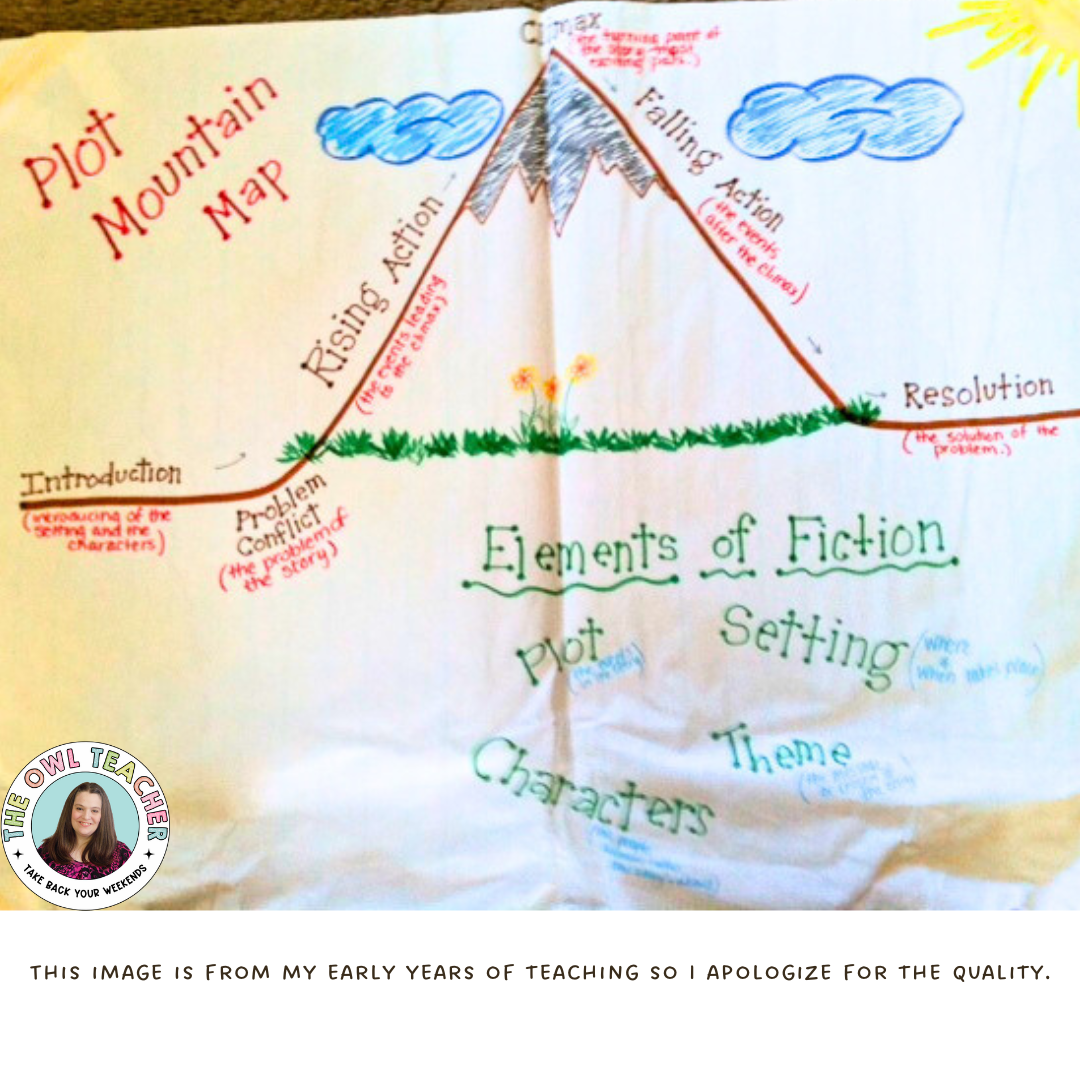
ELA Practice:
Spice up vocabulary with visual flashcards. On each card, just have students create a picture, the word, and a quick synonym. Or, for story structure, create plot mountains (or roller coasters!) where students draw and label key moments from a story.
Tips for Creating Visuals
You might think, “That’s cool, but I don’t have time for all this.” I hear you. Here are some tips to make visuals that work without sucking up your weekend.
- Keep It Simple:
You don’t need to be an artist. Don’t put more than one idea on any visuals in the classroom and avoid overcrowding the text. - Color is Your Friend:
Use colors to highlight relationships. For example, make evaporation blue, condensation gray, and precipitation white in the water cycle. - Involve the Kids:
Let your students create the visuals! They’ll learn more by doing it themselves, and you’ll save time. Win-win. - Test It First:
Before you hang it up or hand it out, show it to a colleague or even another student. If they’re confused, tweak it until it’s crystal clear. - Make It Accessible:
Use large fonts, high-contrast colors, and text labels. If it’s digital, add alt-text for images so everyone can use it.
Visuals Aren’t Extras–They’re Essentials
Here’s the big takeaway: visuals aren’t just decorations or extras. They’re a tool to make your teaching stick, a way to meet every student where they are, and a chance to take your classroom from “good” to “great.”
So, take a minute to reflect. Are your visuals in the classroom doing enough? If not, challenge yourself to try one new idea this week. Whether it’s creating a growing board, trying visual storytelling, or just color-coding an anchor chart, it all makes a difference.
And remember, the goal isn’t perfection—it’s progress. Your students will thank you.
