Teaching about timelines is a skill that crosses into language arts, science, and social studies, at the very least. It is often found as a graphic source in nonfiction texts that helps students understand the material better, and students are often asked to create a timeline at some point during their schooling. So, why not get creative and make it engaging?
When most teachers think of timelines, they are likely thinking of just a traditional number line with increments displaying dates and an event. *YAWN* While this is indeed a timeline, it’s less likely to engage a student, motivate them, and help them remember the content. That’s why I have 10 – YES, 10! – different timelines to share with you that your students can make!
Wait, what’s that? Ten timelines isn’t enough?
Okay, I’ll compromise: to keep this blog post from reaching novel-like proportions, I’ll only write about ten different timelines. However, if you’re in need of more timeline goodness, check out this bundle of TWELVE timeline activities!
I know, I know–now the ten different timelines aren’t nearly as appetizing, huh? Still, give ’em a read-through–I guarantee you’ll be able to save your timeline hunger here! Let’s get started.
The 10 Different Timelines
All of the timelines below share the same important information as a traditional timeline. They share the date of the event, along with what happened, and some even ask why it is important. Many request an illustration and, of course, require students to present them in chronological order. Teachers could even ask who was involved, where it happened, and so much more! The ideas are limitless!
1.) The Puzzle Timeline. Provide each student with one puzzle piece per event on the timeline. Inside the puzzle piece, have them illustrate the event along the top half and describe it along the bottom half. Include the date. Then, piece the puzzle pieces together into one long row. I would then glue them along a piece of construction paper for an adorable display. Then, you’ll end up with something like this:
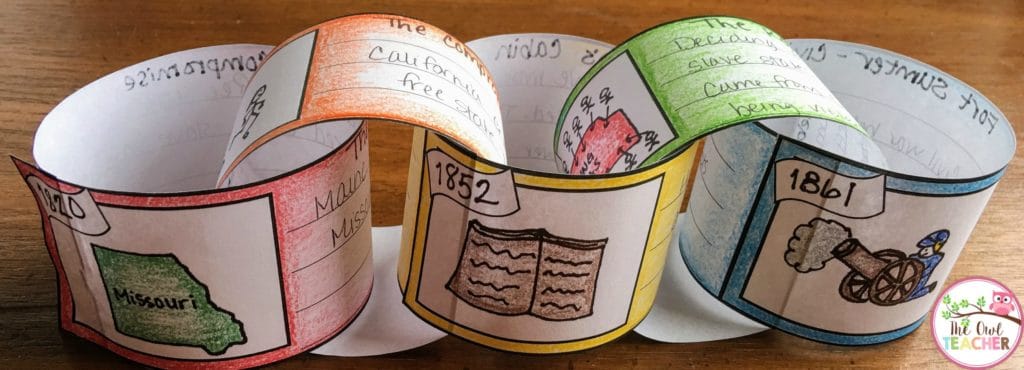
2.) The Chain Link Timeline. Provide each student with a strip of paper for each event (or construction paper, if you wish), and have students write about the event on the strip. If desired, you can have students illustrate the event, too. Then, have students link each chain event together to create a timeline chain.
3.) A Chain of Events Timeline. If you don’t like the idea of an actual chain, but want the concept that they are all linked together, then have students write each event and date on a card and what happened at that event on another. Then, have students actually draw chains that link the cards together. See the picture below for a better understanding of what I’m trying to say. Haha.
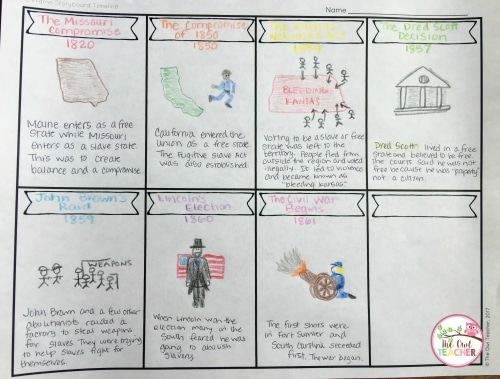
4.) A Storyboard Timeline. I love storyboards. Take a piece of paper and fold it into the number of boxes you need (based on the number of events). Then, in each box, write about that event. I always have my students include an illustration and a heading for each box. Since it is a storyboard, I try to have my students tell it in a story form, but they still must stick to facts. It can be very interesting. I have also gotten very creative, and we have used our fingerprints with this timeline. You can read about our fingerprint storyboards in this blog post.
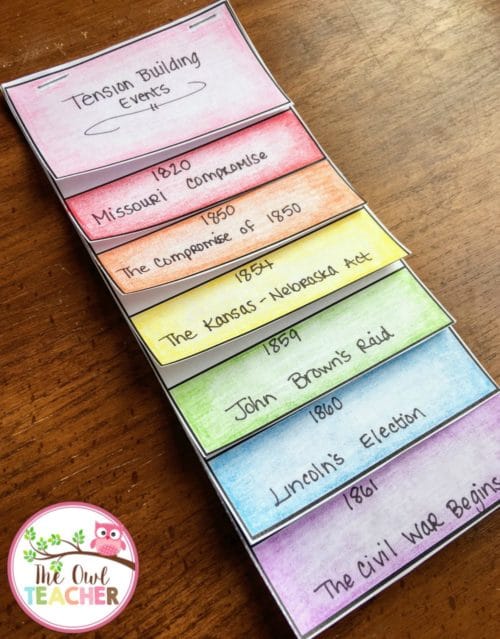
5.) The Folded Cards Timeline. Provide each student with an index card (or the like) for each event. Have them fold it in half and glue the back to a sheet of construction paper in a row (see the picture below). Then, on the outside, write the name of the event and the date. You can also have your students include an illustration if you wish. Then, on the inside, have students write about the event. It makes a cute display!
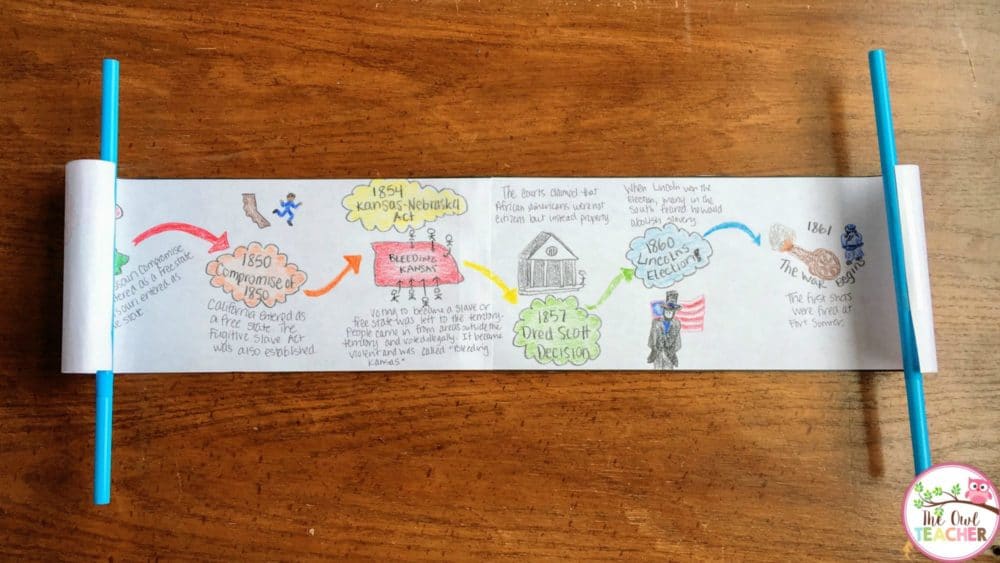
6.) The Old Fashioned Scroll. I have students take a piece of paper and fold it in half “hot dog” style. Then, we glue it end-to-end so it is one really long piece of paper. On each end, we glue straws (though you can glue wooden dowels, Popsicle sticks, or any other materials) and leave a little space for rolling. After that, throughout the paper, we create our timeline. Sometimes we draw a traditional timeline, sometimes we use arrows; it really just depends on our level of creativity!
7.) A Step/Layer Foldable Timeline. I love foldables. I’m always looking for ways to incorporate those into my classroom, so you know I had to have some of them in this post, too!
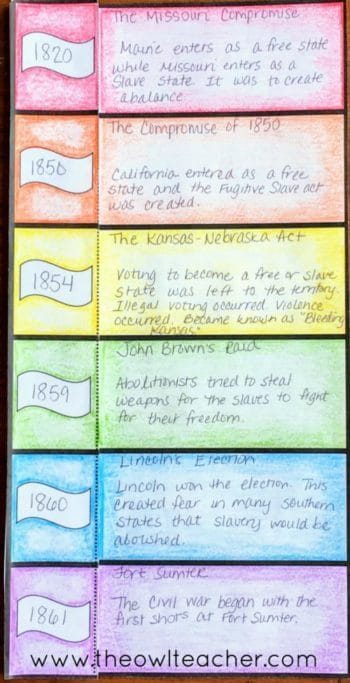
8.) Foldable Timeline. In this foldable timeline, students have the date on part of the fold, and then under it they can illustrate the event. The description of the event is to the right of the date. It can easily be glued into their notebooks.
9.) The Quick Note Timeline. Each student receives a quick note sheet for each event in their timeline. Then, students complete the quick note, place two holes along the top and string them together for a cute “pennant-like” display.
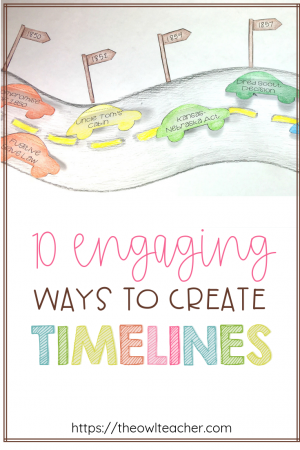
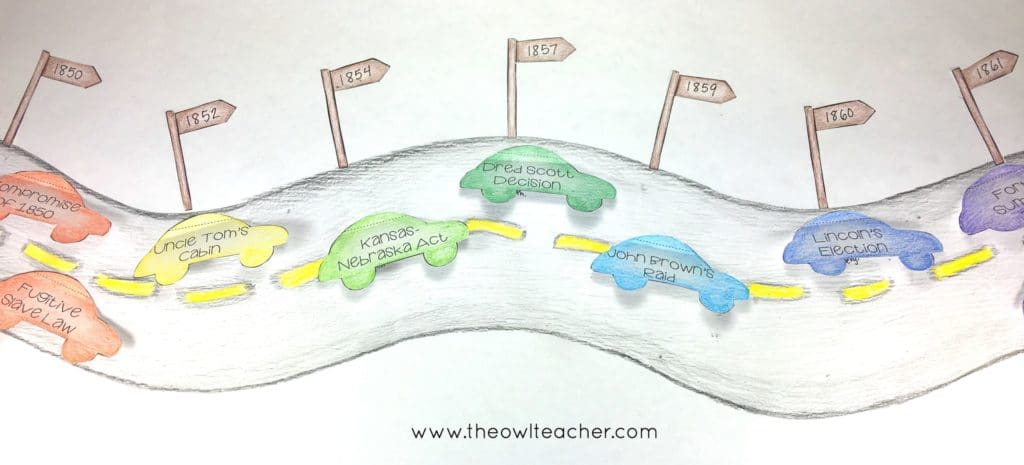
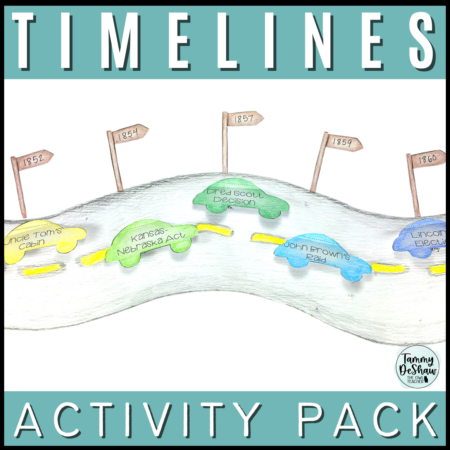
10.) The Road Map Timeline. In this fun example, students take a poster board or a piece of butcher paper and draw a road. Then, they create street signs to represent the dates and use cars to represent the event. In the example below, we made the cars so they lift up, and under them is where we described the event in detail.
All in all, these timelines make for an exciting and engaging way to practice this important skill while motivating students. And, let’s face it, an adorable display!
Want to save some time teaching timelines?
While you can teach/make each one of these types of timelines in your classroom on your own, I created a Timelines Collection resource that includes ready-to-print directions and images, along with additional tips for you for not just the 10 mentioned above, but for TWELVE different engaging timelines. This low-cost resource is designed to save you a ton of time – whether you want to teach one timeline a month, have the students pick a timeline version as a project to present, or use it as center work. These are good for small group work, individual projects, or enrichment activities.
What are you waiting for? Grab your copy and let’s make timelines engaging again!








2 Responses
Tammy, I love this post and your blog! So many fantastic ideas and resources. I’m in several FB groups with you. Hope to get to know you better!
Hi Susan! Thank you so much! I’d love to get to know you better too! 🙂