


COPYRIGHT © 2016-2026. The Owl Teacher | Privacy page | Disclosure Page | Shipping | Returns/Refunds
Despite the many (many) math courses I took waaaay back at university, I had still managed to never encounter the word “partitioning” until my first year of teaching. However, I wasn’t going to let a simple word hold me back! I was determined to help my students understand what it meant and make it as engaging as I could.
Okay, well, cutting shapes up into equal parts wasn’t exactly the best idea of fun, but you do what you can. After all, it’s an important concept in fractions (or was it considered geometry?) that children needed to know.
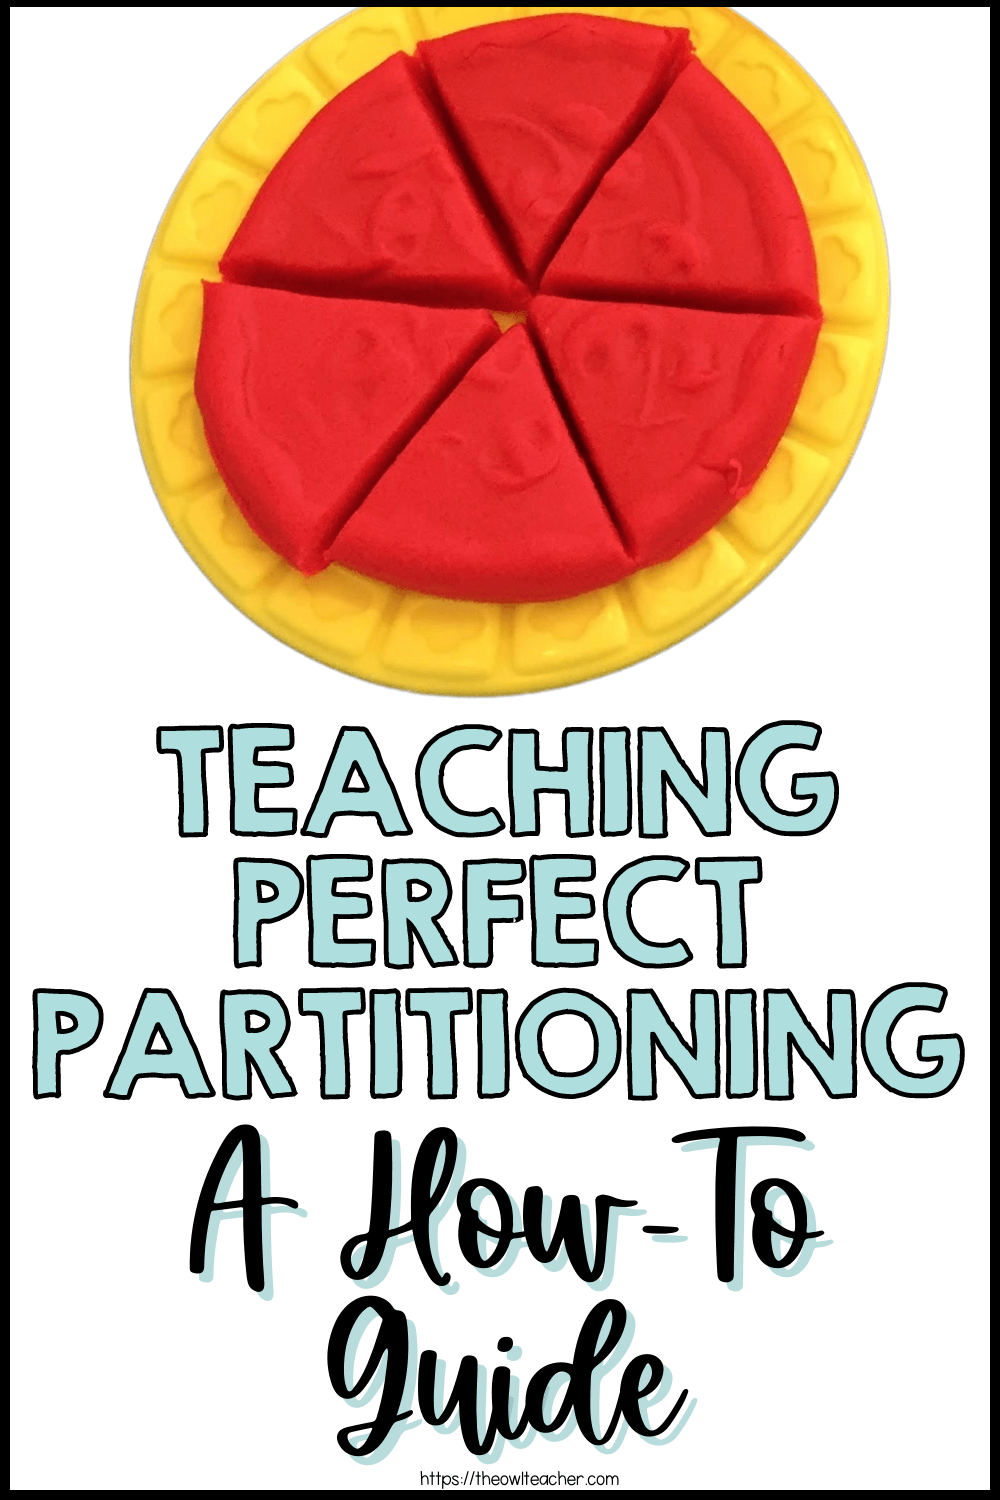
Introducing the Idea of Partitioning
When I first introduced the idea of partitioning shapes, I used concepts that children are most familiar with. You know, the basics, like cookies and pies and cakes. Basically, if the lesson made you hungry, then we were making progress! It helps, too, to explain that the word “partition” is just a fancy way of saying that we are going to divide it up into nice equal pieces–and no, you can’t cut yourself a bigger piece than your sibling!
While some teachers may frown on this, I pull out cookies (before recess, of course… Sugar rush, anyone?) and break students up into pairs. I express that I need them to partition it into halves. This not only introduces the term “partition,” but also introduces the fractional word “half” if they aren’t familiar with it. Most students will at least have heard of the word, but this helps to introduce it as a mathematical concept as well. If your kiddos are anything like mine, you’ll see that they quickly become tiny judges, ruling over what’s fair–having equal parts when it comes to food!
Of course, if you can’t bring in cookies due to allergens, your budget, or other reasons, no worries. You can always cut out circles of construction paper, or even cookie clipart to go along with the theme.
Next, I provide each student with playdough and have them practice partitioning it into a variety of sizes in addition to halves. This is also the opportunity to introduce thirds and fourths. We continue to discuss the importance of having equal parts during this time. This helps make it hands-on and interactive. I also like to call out, “show me half of” or “how many thirds do you have?” as we practice partitioning the playdough.
Sure, the playdough isn’t nearly as appetizing, but I can’t send the children home too hyper. We still have to do some learning, after all!
Time for Partitioning Practice!
Once I feel that students have the partitioning down, I break the class up into groups so they can continue to practice, but a little more independently. This aligns with the gradual release model for instruction–one of my favorites! If you’re curious to check it out a bit more, head over to my “Teaching with I do, We do, You do.” blog post. This gradual group breakdown is a great way to differentiate instruction for students who may need a bit more help, while also allowing for a bit more independence to keep your speedier students engaged.
Now, in various centers, students are given various colored construction paper shapes that they have to partition into a different number of equal parts. For instance, one station may have red circles and blue squares that need to be partitioned into halves, while another station may have yellow triangles to partition into thirds. Students will take these papers, partition them equally, and label them. Then students will glue them onto a piece of paper they are carrying from center to center. They will continue this until they have finished all the centers.
There are a variety of ways to differentiate the centers. To add some spice, try creating a center that doesn’t include the name of the fraction, but will instead ask the student to build a shape with six equal parts. Don’t be afraid to add a bit of a challenge, either–in the centers, students can discuss with other students thoughts or get help from the teacher as they progress. This is one of the last opportunities to do so before the student is 100% independent, so it is really encouraged.
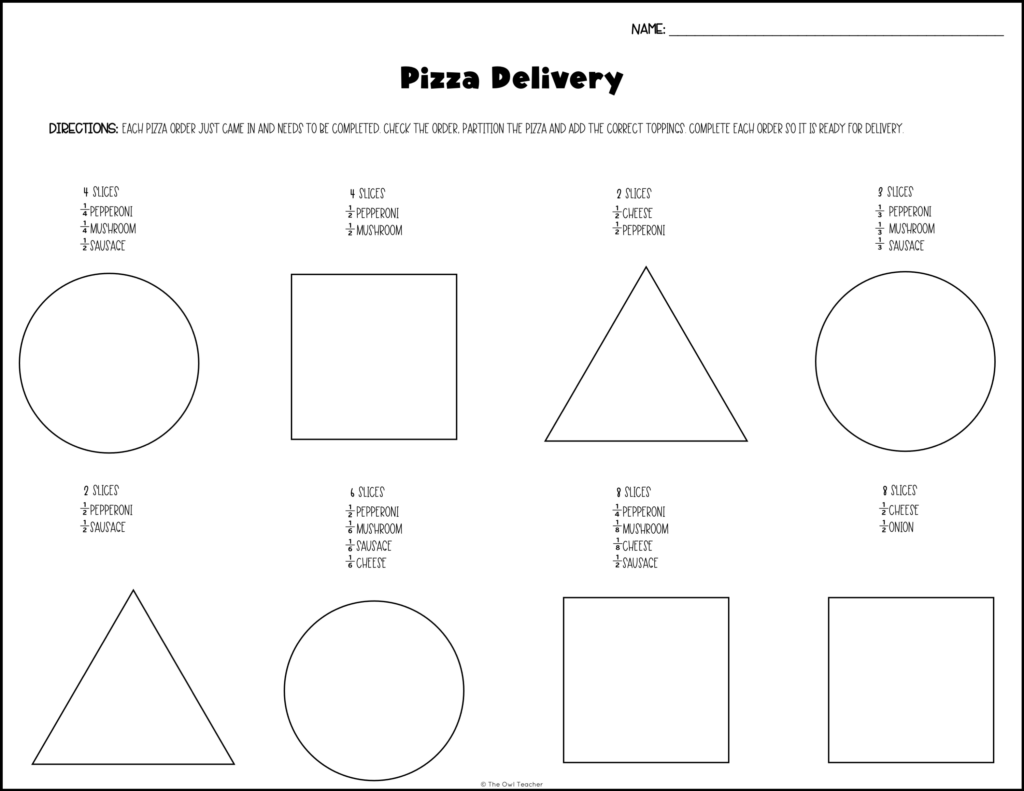
Following the gradual release model, after students have created a “shape mosaic” of sorts from the various centers, students are then on their own to practice partitioning shapes. Below, I’m including a worksheet I developed just for independent partitioning! Students are given “orders” of pizzas that they need to complete (by partitioning and providing the correct toppings!) and “deliver.” (Click on the image below to download it free!)
Between cookies and pizzas, your students might just end up hungry in their quest to understand partitioning. Thankfully, we’re here to feed them knowledge!
… Too cheesy?
Jokes aside, I’m positive the tips outlined above will make your partitioning lesson engaging and certainly one to remember. Students learn best when they can relate the concepts to their own lives, after all, and everyone eats! Still, if you’re looking for ways to increase engagement that won’t make you quite as hungry, no worries–I have a plethora of other ideas. Check out my blog post “50 Practices that Engage Students” for more tips and advice!
Alright, that’s enough for now. My stomach’s been growling since the third paragraph, and it’s lunchtime. As always, thanks for reading!
